Motokoプログラミング(準備1)
SDKのインストール
Installing the SDKの手順通りに以下を行う。ちなみに、LinuxかMacOS12以上しかサポートされていない。
sh -ci "$(curl -fsSL https://internetcomputer.org/install.sh)"
※なお、現在(2023/2/16)の説明では、例えば、dfxコマンドが/usr/local/bin/にインストールされるとの記述があるが、これは間違い。後述するように、実際には~/binにインストールされる。もしかしたら、rootと一般ユーザで違いがあるのかもしれないが。。。
以下のような表示になる。
$ sh -ci "$(curl -fsSL https://internetcomputer.org/install.sh)"
info: Executing dfx install script, commit: 809fab6d52fcf418536afe6c5e66a766e6c06c51
warn: Not forcing TLS v1.2, this is potentially less secure
  % Total    % Received % Xferd  Average Speed   Time    Time     Time  Current
                                 Dload  Upload   Total   Spent    Left  Speed
  0     0    0     0    0     0      0      0 --:--:-- --:--:-- --:--:--     0
100  1165  100  1165    0     0   1248      0 --:--:-- --:--:-- --:--:--     0
info: Version found: 0.12.1
info: Creating uninstall script in ~/.cache/dfinity
info: uninstall path=/home/ysugimura/.cache/dfinity/uninstall.sh
info: Checking for latest release...
warn: Not forcing TLS v1.2, this is potentially less secure
  % Total    % Received % Xferd  Average Speed   Time    Time     Time  Current
                                 Dload  Upload   Total   Spent    Left  Speed
  0     0    0     0    0     0      0      0 --:--:-- --:--:-- --:--:--     0
100  343M  100  343M    0     0  1866k      0  0:03:08  0:03:08 --:--:-- 1249k
info: Checking integrity of tarball...
warn: Not forcing TLS v1.2, this is potentially less secure
  % Total    % Received % Xferd  Average Speed   Time    Time     Time  Current
                                 Dload  Upload   Total   Spent    Left  Speed
  0     0    0     0    0     0      0      0 --:--:-- --:--:-- --:--:--     0
100    97  100    97    0     0     80      0  0:00:01  0:00:01 --:--:--    80
dfx-0.12.1-x86_64-linux.tar.gz: OK
Will install in: /home/ysugimura/bin
info: Installed /home/ysugimura/bin/dfx
※アンインストールは、説明にある通り「~/.cache/dfinity/uninstall.sh」を実行すればよい。
dfxコマンドを使えるようにする
~/binにコマンドがインストールされるので、ここを実行パスに含める。
~/.profileに以下のように記述
export PATH=$PATH:~/bin
これでdfxコマンドというものが使えるようになる。
$ dfx --help
dfx 0.12.1
The DFINITY Executor

USAGE:
    dfx [OPTIONS] <SUBCOMMAND>

OPTIONS:
    -h, --help                   Print help information
        --identity <IDENTITY>    The user identity to run this command as. It contains your
                                 principal as well as some things DFX associates with it like the
                                 wallet
        --log <LOGMODE>          The logging mode to use. You can log to stderr, a file, or both
                                 [default: stderr] [possible values: stderr, tee, file]
        --logfile <LOGFILE>      The file to log to, if logging to a file (see --logmode)
    -q, --quiet                  Suppresses infor
......
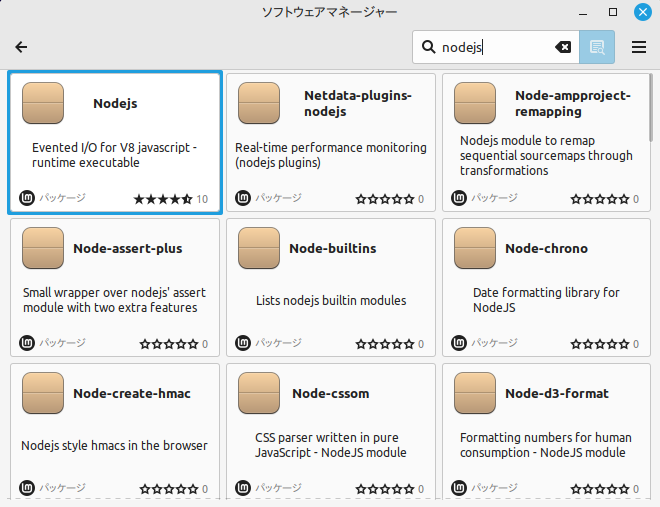
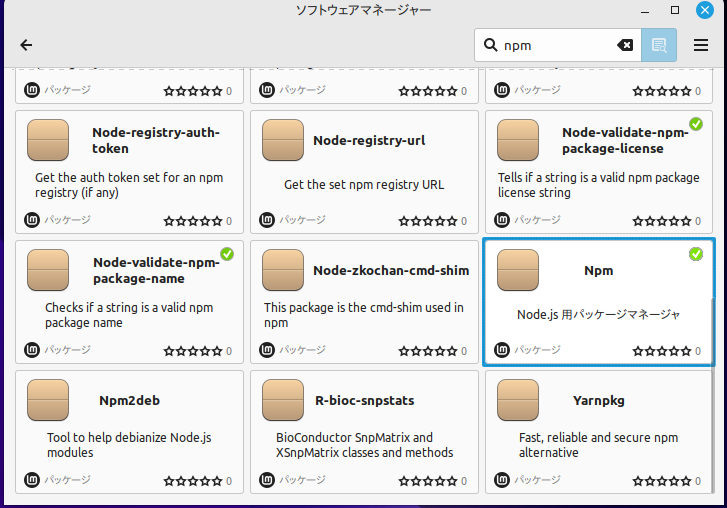
node.jsのインストール
inux Mintの場合にはソフトウェアマネージャからインストールできる。Nodejsのみならず、npmもインストールが必要。
Hello World
適当なフォルダにて、「dfx new hello」を行う。その下に新たなフォルダhelloが作成され、そこにサンプルプログラムが作成される。
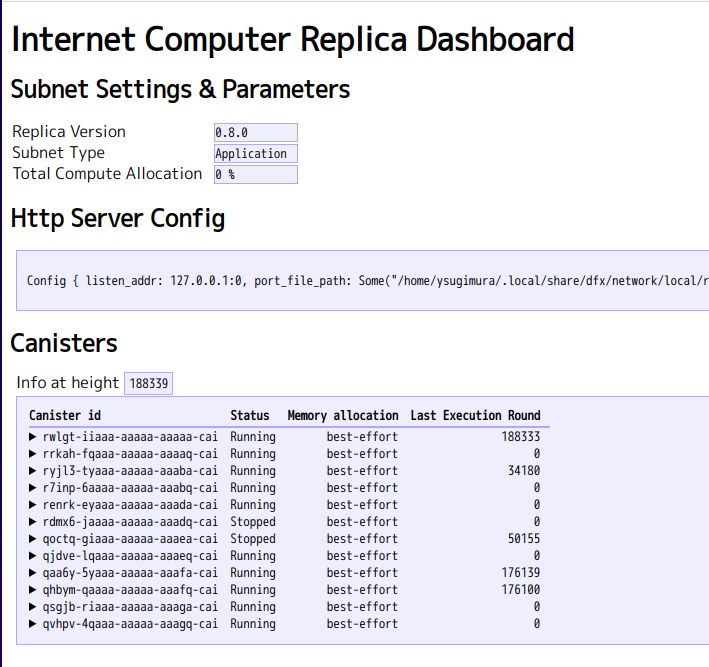
適当な端末で「dfx start」を行う。これはテスト版のInternet Computerを動作させることになる(実際にはレプリカと呼ぶらしい)。このとき、「http://localhost:42431/_/dashboard」などという表示がされ、このURLをブラウザで表示する。
別の端末で、「cd hello」し、「dfx deploy」する。これは、アプリケーションを先のレプリカ上で稼働させることになる。このとき、以下のような表示がされる。
URLs:
  Frontend canister via browser
    hello_frontend: http://127.0.0.1:4943/?canisterId=qvhpv-4qaaa-aaaaa-aaagq-cai
  Backend canister via Candid interface:
    hello_backend: http://127.0.0.1:4943/?canisterId=q4eej-kyaaa-aaaaa-aaaha-cai&id=qsgjb-riaaa-aaaaa-aaaga-cai
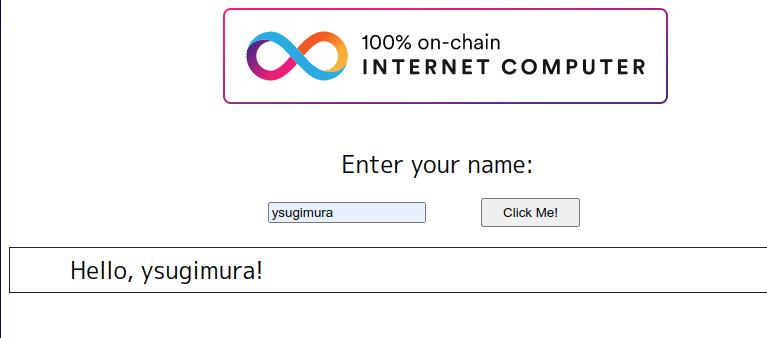
一般の人が操作する側の、いわゆるウェブアプリがfrontendである。実際に実行してみると、こんな感じだ。
いわゆるサーバ側の動作がbackendで、そのサーバ側とウェブアプリの間のAPIを検証するためのインターフェースが、「Backend canister via Candid interface」と言ってるものらしい。こちらは開発者の検証用なので、極めてそっけない画面だ。
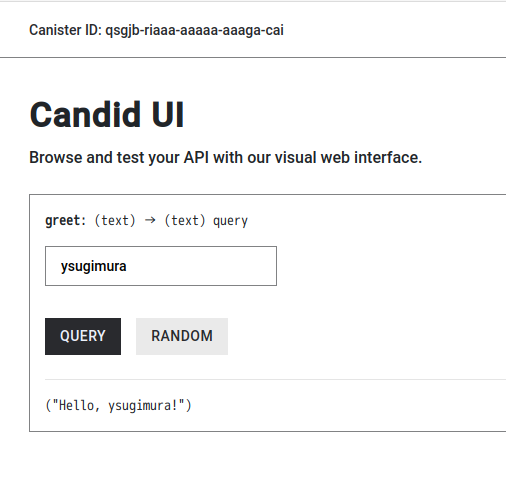
ちなみに、Candidというのは、要するにAPI記述言語であり、一般ユーザ側のウェブ画面からサーバ側の機能を呼び出すための手順を定義している。しかし、その一方で、サーバ側backendを記述するMotokoのプログラムから、自動的にCandidを生成する仕組みがある。
こういった仕組みがかつて他にもあったかどうか知らないのだが、従来のプログラミングでは、こういったAPI記述を特定の言語で行い、それをfrontendでもbackendでも参照して使うというものだったと思うのだが、Motokoの場合には、自動で作成してしまうらしい。