WordPressの最短インストール方法
何度もやる割には、期間が空いてしまうので、メモを残しておく。wordpressを最短でインストールする方法である。
ただし、これはサーバの全権がある場合の話である。例えば、「ナウでヤングなサーバ」として長年やってきたロリポップの最安プラン等では全くインストール方法は異なると思う。
※以下では、あらかじめドメインの取得とDNSサーバ設定は行われているものとする。
wordpressをダウンロードし、解凍する
https://ja.wordpress.org/download/から最新版をダウンロードする。常に日本語最新版を使う。zipでもtar.gzでもよい。
解凍し適当な場所に置く。
コンフィグファイルを設定する
インストールディレクトリ直下にwp-config-sample.phpというファイルがあるので、wp-config.phpに名称変更し、編集する。
データベースの名称、ユーザ名、パスワードを設定する。
define('DB_NAME', 'database_name_here');

/** MySQL データベースのユーザー名 */
define('DB_USER', 'username_here');

/** MySQL データベースのパスワード */
define('DB_PASSWORD', 'password_here');
何の目的かわからないのだが、以下の部分を変更する。
https://api.wordpress.org/secret-key/1.1/salt/に行くと生成されるので、それで置き換えればよい。
define('AUTH_KEY',         'put your unique phrase here');
define('SECURE_AUTH_KEY',  'put your unique phrase here');
define('LOGGED_IN_KEY',    'put your unique phrase here');
define('NONCE_KEY',        'put your unique phrase here');
define('AUTH_SALT',        'put your unique phrase here');
define('SECURE_AUTH_SALT', 'put your unique phrase here');
define('LOGGED_IN_SALT',   'put your unique phrase here');
define('NONCE_SALT',       'put your unique phrase here');
これらが終わったら、所有者をウェブサーバにする。CentOSの場合はたいてい以下。
chown -R apache. インストールディレクトリ名
MySQLデータベースを作成する
mysql -u root -pパスワード
create database データベース名 default character set utf8;
quit;
httpウェブサーバの設定をする
とりあえずhttpで動かしてみるので、httpsの設定をする。CentOSの場合は/etc/httpd/conf/httpd.confに以下を記入。
複数のドメインをサービスしているのでVirtualHostになっている。
<VirtualHost *:80>
  DocumentRoot /var/www/sites/sample
  ServerAdmin info@sample.com
  ServerName sample.com
  ErrorLog logs/sample-error_log
  CustomLog logs/sample-access_log combined
</VirtualHost>
設定チェックを行い、ウェブサーバをリロード
apachectl configtest
service httpd reload
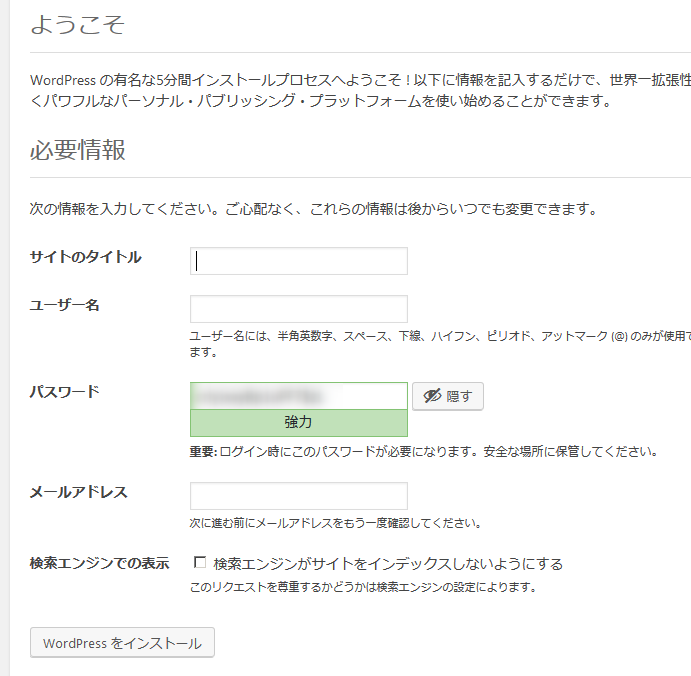
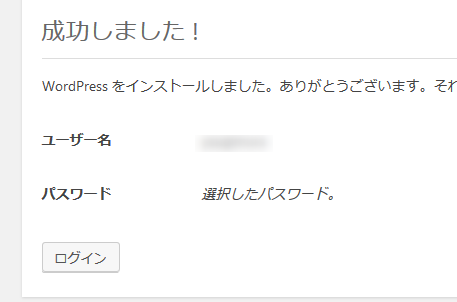
管理者アカウントを設定する
あらかじめDNSサーバの設定はされているので、この状態でhttpアクセスができるはず。
ブラウザで、http://ドメイン名にアクセスする。
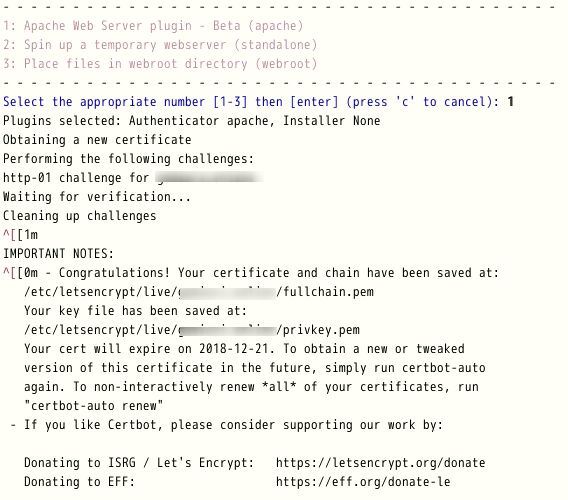
SSL証明書を取得する
最終的にはhttpsでのアクセスにしたいので、SSL証明書を取得する。Let’s Encryptを使えば、タダで手に入れることができる。
既に、certbot-autoで何度もVirtualHost用の証明書を取得しているので、以下だけでよい。
certbot-auto certonly -d ドメイン名
その後は以下。
httpsに切り替える
/etc/httpd/conf.d/ssl.confに以下を記述
# sample.com
<VirtualHost *:443>
  ServerAdmin webmaster@cm55.com
  ServerName gomiuri
  DocumentRoot /var/www/sites/sample/
  <Directory /var/www/sites/sample/>
    AllowOverride All
  </Directory>
  ErrorLog logs/ssl_sample.com-error_log
  CustomLog logs/ssl_sample.com-access_log combined

  LogLevel warn
  SSLEngine on
  SSLProtocol all -SSLv2 -SSLv3
  #SSLCipherSuite DEFAULT:!EXP:!SSLv2:!DES:!IDEA:!SEED:+3DES
  SSLHonorCipherOrder ON
  SSLCipherSuite EECDH+HIGH:EDH+HIGH:HIGH:MEDIUM:+3DES:!ADH:!RC4:!MD5:!aNULL:!eNULL:!SSLv2:!LOW:!EXP:!PSK:!SRP:!DSS:!KRB5:!DH

  SSLCertificateFile /etc/letsencrypt/live/sample.com/cert.pem
  SSLCertificateKeyFile /etc/letsencrypt/live/sample.com/privkey.pem
  SSLCertificateChainFile /etc/letsencrypt/live/sample.com/chain.pem
</VirtualHost>
httpの方ではリダイレクトさせるために、Rediectを記述し、DocumentRootの方は削除
<VirtualHost *:80>
#  DocumentRoot /var/www/sites/sample
  Redirect / https://sample.com/
  ServerAdmin info@sample.com
  ServerName sample.com
  ErrorLog logs/sample-error_log
  CustomLog logs/sample-access_log combined
</VirtualHost>
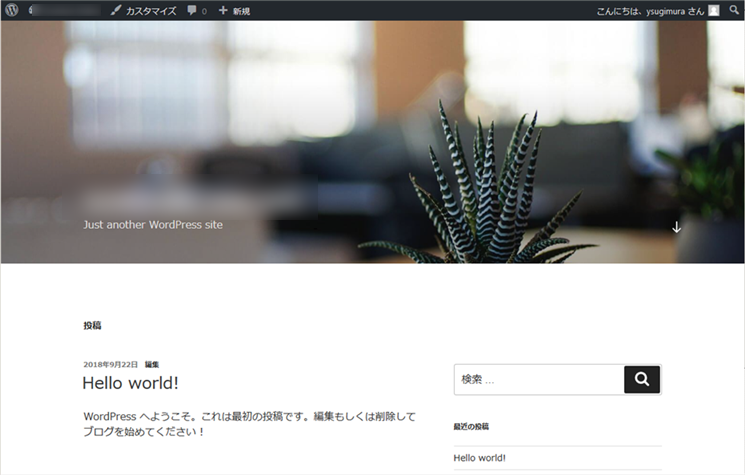
httpsでのwordpressサイトが完成
以下のようにhttpsアクセスによるwordpressサイトができる。
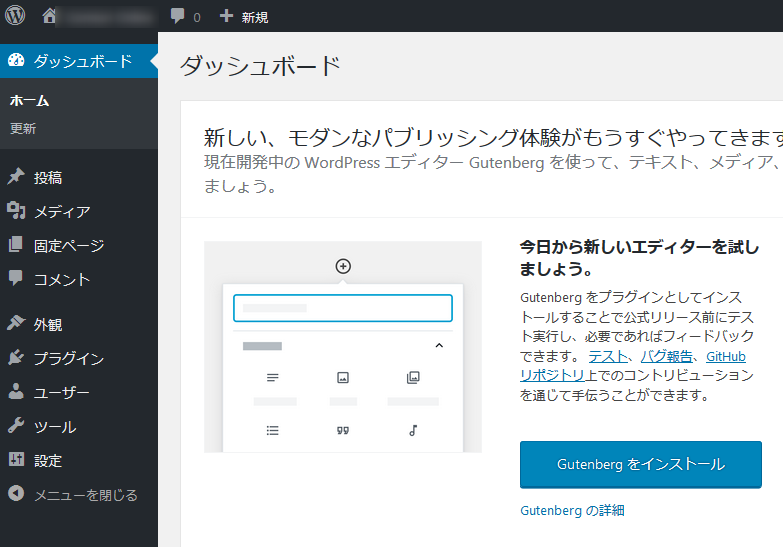
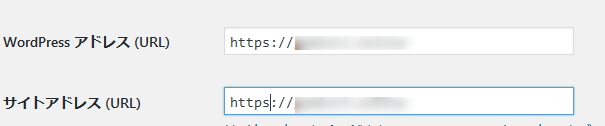
wordpress上の設定
少なくとも管理者としてログインして設定>一般で以下のようにhttpからhttpsに変更しておく。
他のwordpress上の設定としては、WordPressでの定番プラグインに記述している。